|
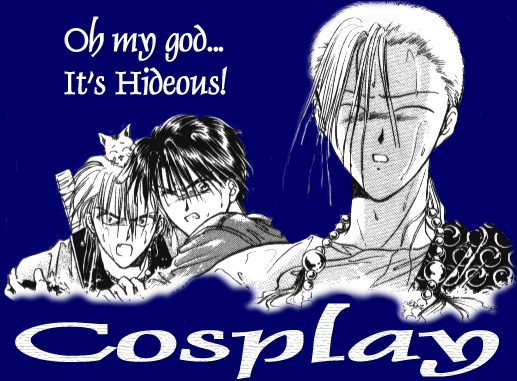
Abby as Chichiri
Unfortunately I didn't start this photo series until I was about 75% done with my costume, so you don't get to see all the cool beginning stages as they happen. I know you're heartbroken.
------------------
***My goal***
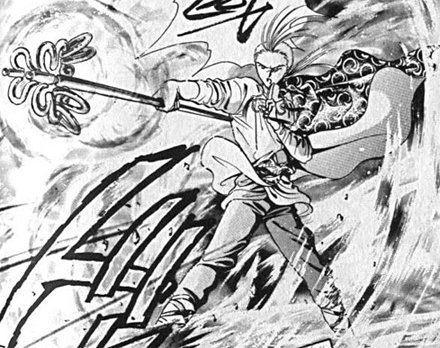
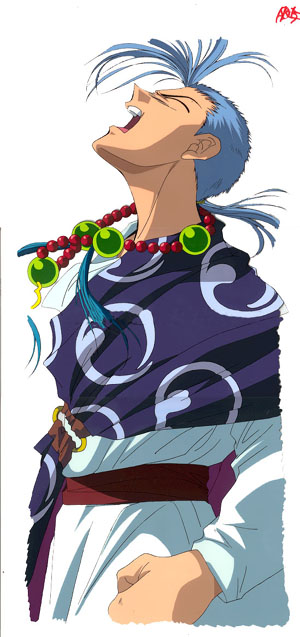
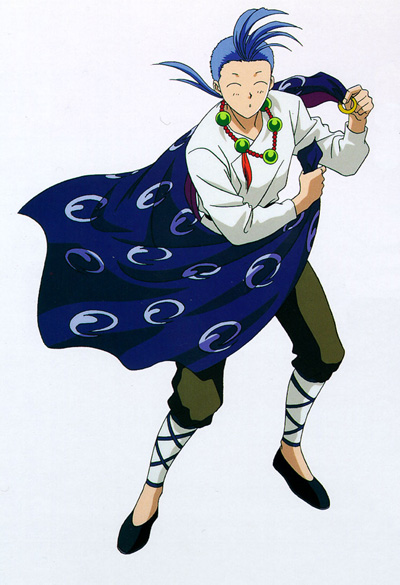
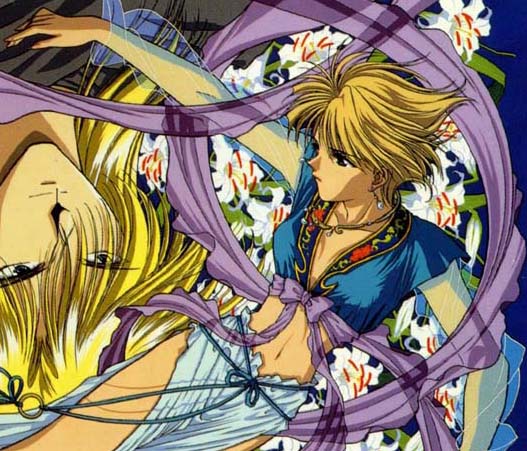
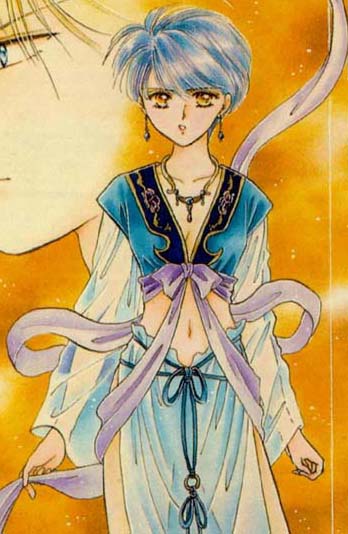
Here are a few of the original pictures by Yuu Watase and the anime series artists which I am basing my outfit on.
  
------------------
Materials list, with prices and hours wasted:
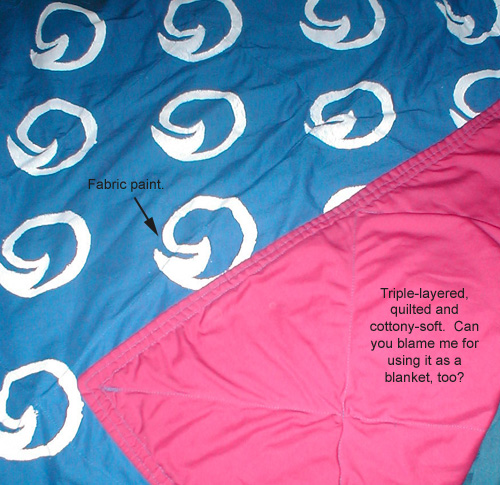
Kesa-- This is the pretty blue cloak that Chichiri wears. I made it, by hand, from 8 yards each of blue cotton fabric, raspberry cotton fabric, and a thick white filler fabric. I double-hemmed the edges and quilted it, and painted the swirly-designs on by hand. The end result is 5' x 5'. It's doing double duty as a blanket on my bed, haha.
($40, 24 hours)
------------------
Pants-- Wal-Mart brown polyester pants, chopped at the knee, with white thingies sewn on to the bottom. (I don't know what they're called...) And ribbon to tie around.
($15, 2 hours)
------------------
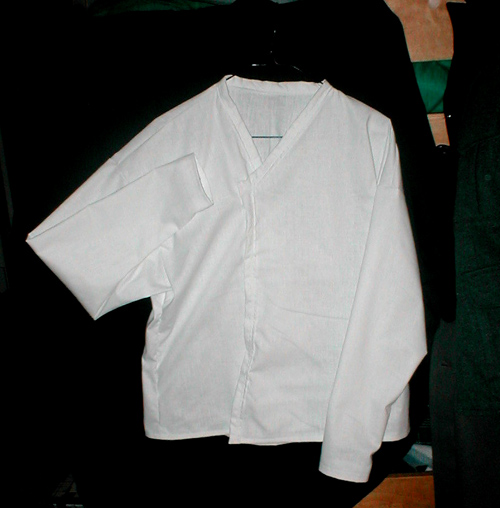
Shirt-- "Natural" colored rough-grain fabric, a Simplicity brand Jedi Knight tunic pattern, and a little bit of patience resulted in my second, and vastly superior, shirt.
($17, 5 hours)
(And if you want to count the time and money I spent f%^&ing up on the first shirt, it'll up the total to $25 and about 12 hours.)
------------------
Kasa (hat) and shoes-- I ordered these from AsianIdeas.com. I was extremely satisfied with their service and products, and heartily reccommend them for your cosplaying needs.
($30, no effort...haha)
------------------
Wig-- Another online purchase, I was just as pleased with Witch Wigs. I ordered their Jesus wig, which was just a mop of blue hair, and cut and styled it (with the aid of pipe cleaners) to create the end product.
($30, 8 hours)
------------------
Prayer beads-- The red beads are glass, the green ones are painted wood. The tassels are made from my own hair, and the pretty gold pendant is made from "friendly plastic" which is awesome stuff.
($13, 10 hours)
------------------
Mask-- modified mask blank from Michael's craft store. I had to fill in the eye holes a bit to get the right "smiling" appearance, and painted it by hand.
($5, 2 hours)
------------------
Staff (Shakujou)-- PVC pipe and wood. I know a lot of other people have made their versions with styrofoam, but I wanted mine to be sturdy and heavy-duty. I cut and sculpted the four rings from PVC, and the pretty decorative part at the top is a wooden chair leg, with jigsaw-cut wooden designs glued on.
($10, 10 hours)
------------------
Preliminary Chichiri picture #1 (Feb. 3). I'm missing the wig, hat, shoes, and belt, and the staff is unfinished.

------------------
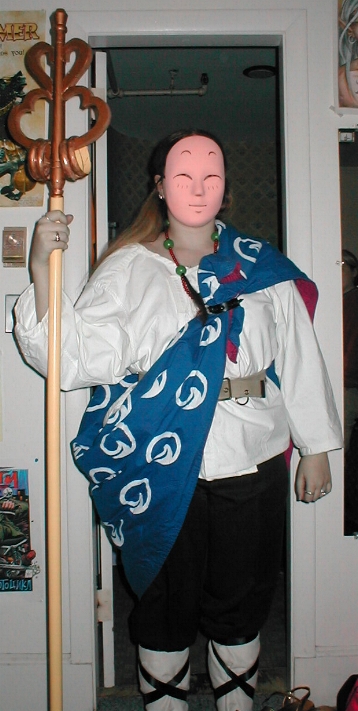
A week later (Feb. 10) the hat, shoes and wig have arrived in the mail, although I haven't finished styling the wig yet. The belt and staff are still incomplete, and I've determined that I need to re-make the shirt.

Here's me being a moron. Well, more of a moron than usual, anyway.
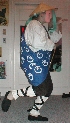
And look! Action pose!
------------------
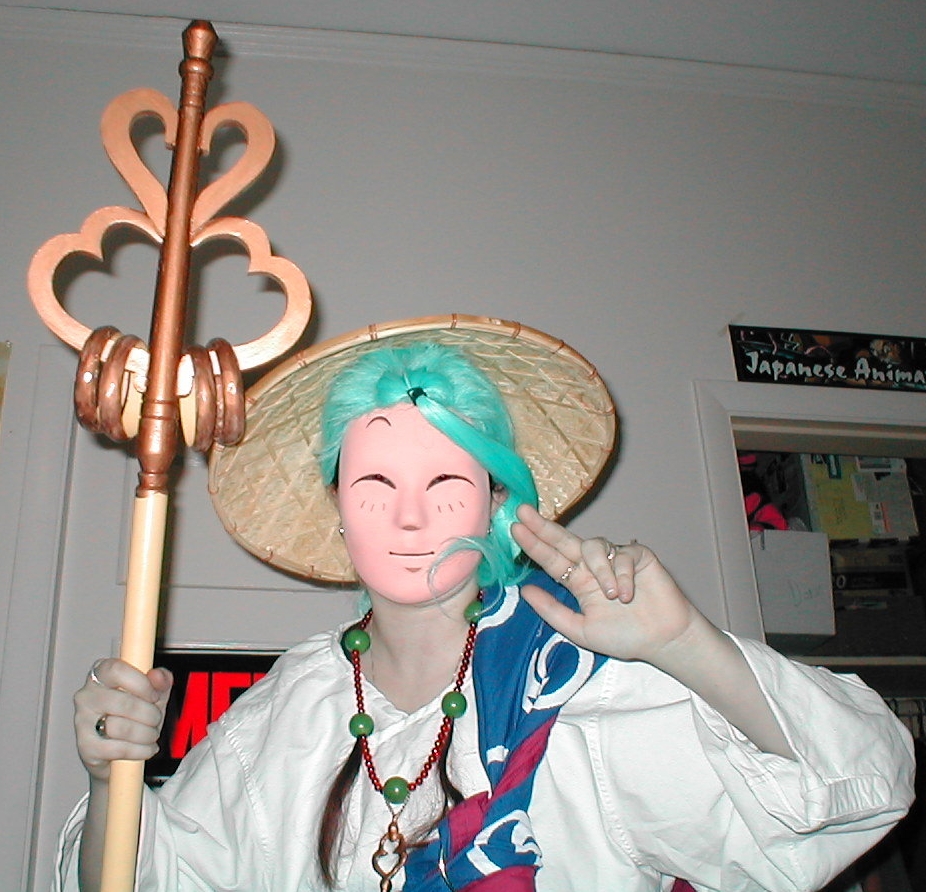
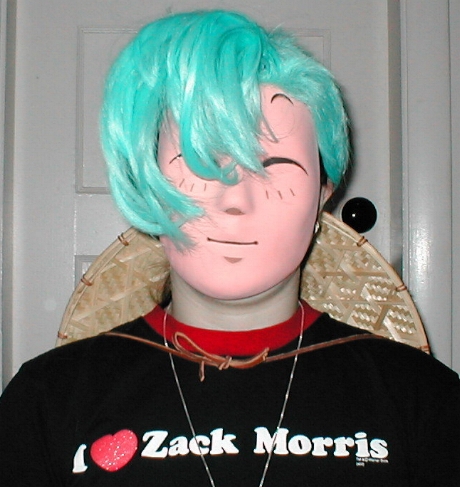
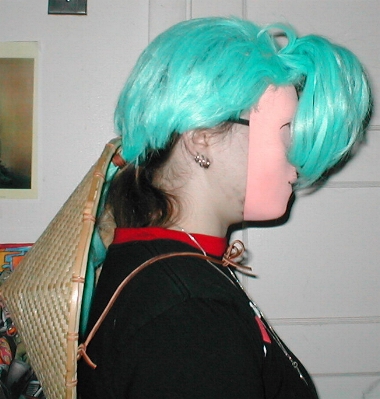
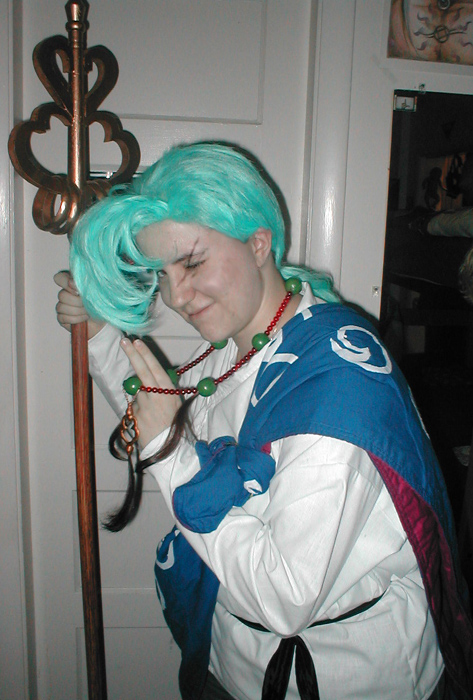
February 12; The wig is complete! I went through an amazing four tubes of superglue putting this thing together--but the end result is well worth it. We all agree that I look frighteningly similar to my favorite seishi. I'm going to be cutting my real hair down to a couple inches within the next week (for unrelated reasons) so the wig will look even better as soon as I've done so.
   
------------------
(February 20) I finally finished my staff! It looks great, I'll have some pictures up here soon. I also cut my hair all off. *gasp!* Well, I didn't cut it off MYSELF, of course, but I had someone else trained in the scissor-arts do it for me. Rock on.
------------------
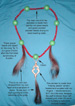
(February 26) Here's a series of photos to show you some of the more specific items of my costume. Also, each picture includes a little bit of "how-to" information so you can, maybe, duplicate my results if you want.
We have here my prayer beads and kesa. The kesa's print pattern is based off the manga version.
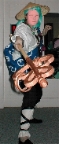
And here's two views of my staff.
 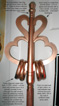
------------------
(February 28) I finally threw out the original shirt. I thought it might be salvageable, but it wasn't, for several reasons; First, the thing was just too damn big. I made it by modifying a men's shirt, which I bought huge in anticipation of the modifying I was going to to do on it. Well, even after the modifications it was still too huge, especially in the sleeves, which in Chichiri's shirt should actually be slightly bunched at the wrist. Second, I was stupid and tried to dye the hair tassels on my prayer beads by scribbling on them in red magic marker, which rubbed off onto the white shirt, leaving a big ugly reddish stain all down the front of it. (I've since re-dyed them with REAL hair dye... that'll teach me to be cheap) Third, it was a used shirt that I bought at Goodwill salvage, meaning it was pre-stained with armpit sweat and had a pretty nasty smell to it. So I finally trashed it, with the intent to make a new shirt from scratch next week. Once the shirt is completed, my costume will be DONE.
In more productive news, today I made my belt, out of black satin. Simple, easy, and not worth photographing, really.
------------------
I built my new shirt today. (March 3) And I am so glad I decided to start from scratch, because the new one is so much better. I built it from fabric and a pattern, since I reached the conclusion that the shirts available for sale in my local stores weren't modifiable. Here's a picture of the final shirt-- and two of me modeling it.
  
As you can see, it's way better-- truer to the actual shirt, a much better size... and it doesn't smell like someone died in it.
And now this costume is DONE.
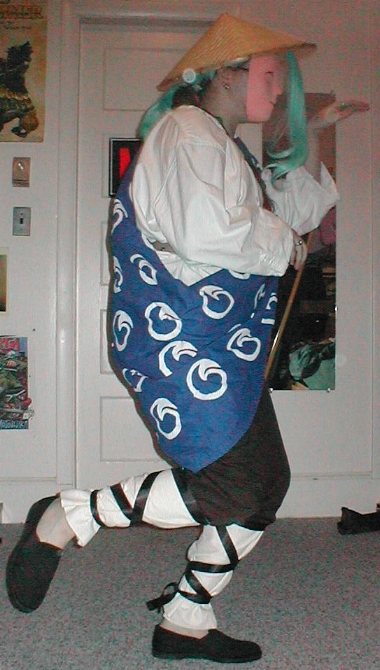
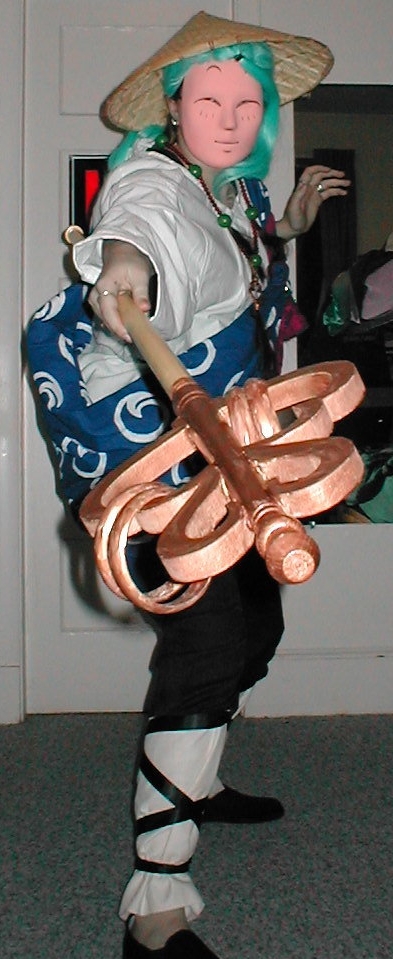
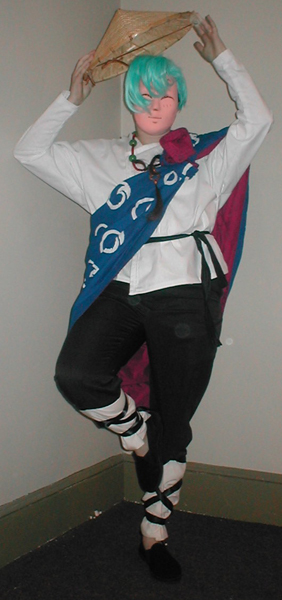
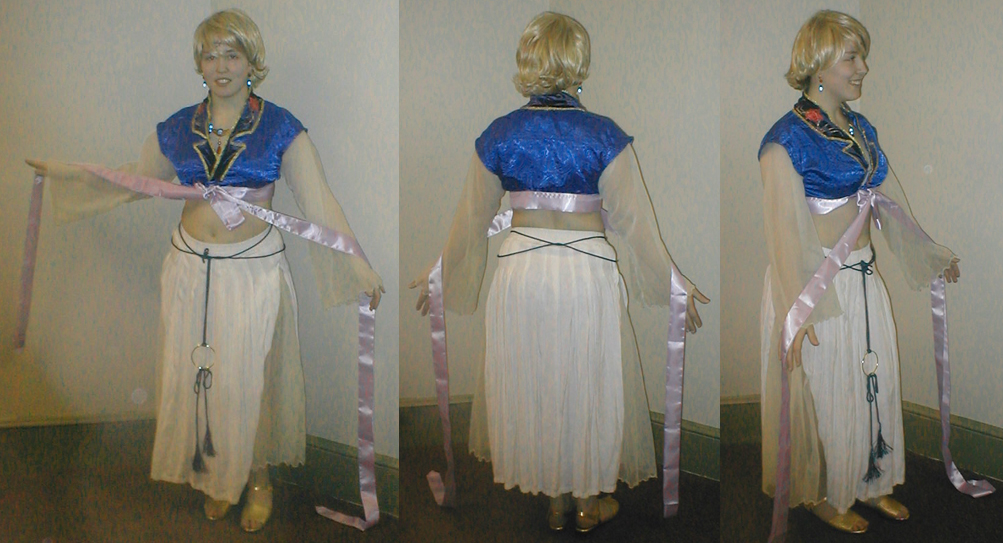
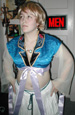
Here are the "final photos". First, a front, back and side view.

And now, for the hell of it, some cute poses.
Disappearing into my kasa!

You can't see me... for I am CHICHIRI!

I just have to wear it around a bit so I can figure out what will and won't stay, or what is and isn't uncomfortable, so I can fix all those rough edges. I'm going to be wearing this getup for three days, after all.
GRAND TOTALS:
$168
68 hours
All time and money was spent over a period of two months.
|
Kim as Yui
Although Yui has fewer accessories than Chichiri, the ones she has are crazy-detailed. Her outfit is fitted, as well, making my life more difficult. But it's all great fun, anyway! Because Kim hasn't had much experience making stuff, I've been working with her to make this costume.
------------------
***Our goal***
Here are the original pictures by Yuu Watase which we are basing Kim's outfit on.
  
------------------
Materials, prices, and time wasted:
Shoes-- this was the easiest and cheapest part of her costume. Found at Goodwill salvage.
($2.50, no time)
------------------
Skirt-- another product of our Goodwill raid, we found a skirt which we slit up the sides and then stuck some nice, flowing, diaphenous fabric (which we also chopped out of a nightgown we bought at Goodwill) in the slits.
($7, 5 hours)
------------------
Belt-- Wal-Mart upholstry cord, curtain tassels, and one brass ring.
($5, 1 hour)
------------------
Shirt-- We cut up an old Victoria's Secret nightgown for the pretty embroidered blue satin, and acquired all the other fabric necessary including something similar to tulle and stetchy faux-velvet. (at Goodwill, of course...) We had initially intended to hand-embroider the rose design, but we found pre-made roses and did the gold "vines" with my kickass antique sewing machine. This shirt is easily the most intricate of all the cosplay items I've made, it is insanely fancy-looking and detailed. You can see pictures below.
($20, 20 hours)
------------------
Wig-- A lucky find at a local store.
($40, no time)
------------------
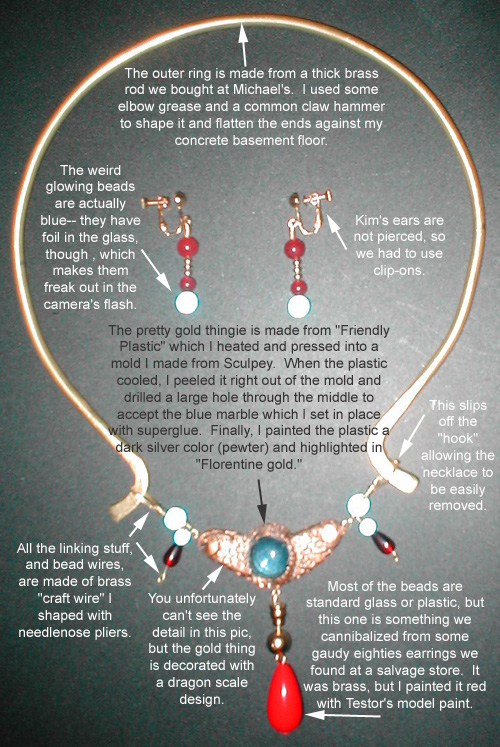
Shinzaho and earrings-- Likely the most important part of her outfit, because the Shinzaho (necklace), at least, is an important item in the story. Because the manga and anime have different designs for the Shinzaho, we're sticking with the original manga version. We made it and the earrings from metal, glass beads, stone beads, wire, Friendly Plastic and paint.
($20, 15 hours)
------------------
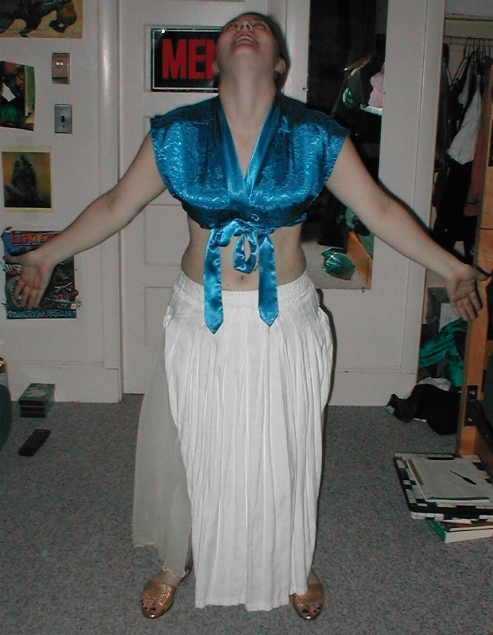
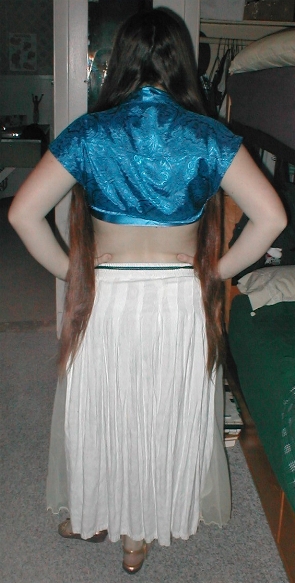
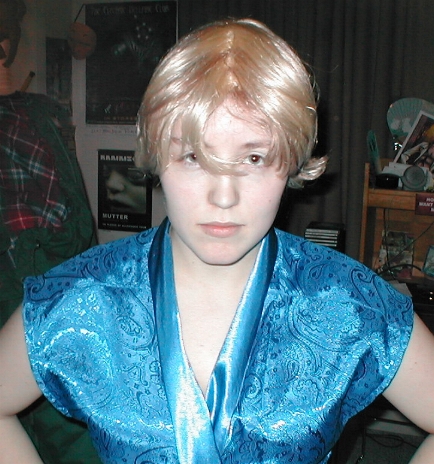
Here she is, modeling the bare-bones beginning of her costume. (Feb. 10)

As you can see, the biggest issue with her costume is going to be hiding her whopping 3 feet, 3 inches of hair underneath a tiny blonde wig. (And she refuses to cut it all off... sheesh.)
And here's her showing off the materials that will make the costume.
------------------
The next day (Feb.11), we lucked out and found a wig at a local hairstylist's, and have been busily attempting to confine her hair inside. We had success-for a few seconds, anyway.

------------------
I finished the Shinzaho. I'll have some close-up shots of it soon. (February 20)
------------------
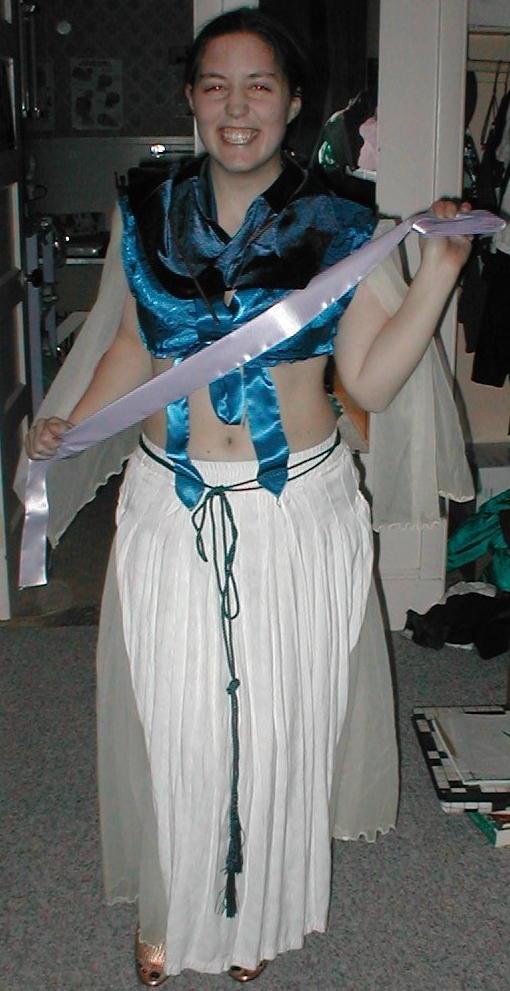
On February 23, I sat down and worked on this costume for about ten hours, nearly finishing the shirt (we had no lavender thread, so I couldn't sew on the ribbon) and finalizing the belt. I think the coolest part is the embroidery, which makes this shirt look like a million bucks; we cheated and did it on a sewing machine. You can see a close-up of the embroidery here--

As much as I'd like to claim that I sewed the roses by hand, it's a lie. We found a perfect embroidered patch for sale at Wal-Mart, and bought two of them. Smashing!
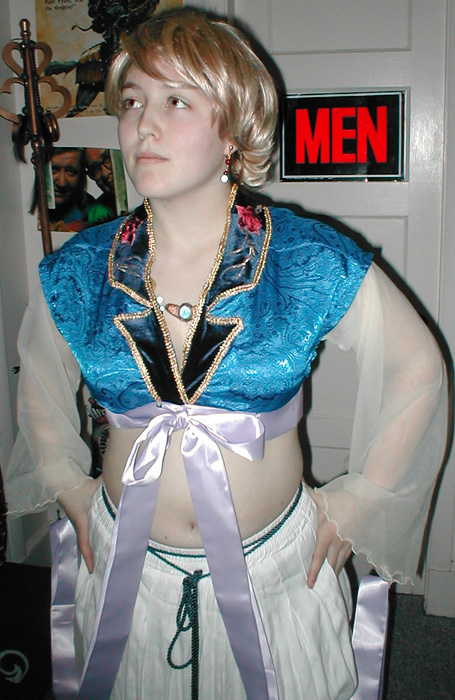
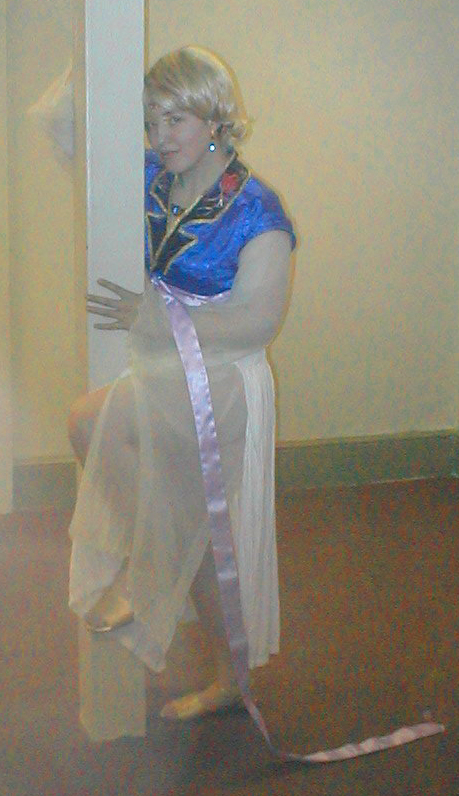
And here Kim is in some classic Yui poses;
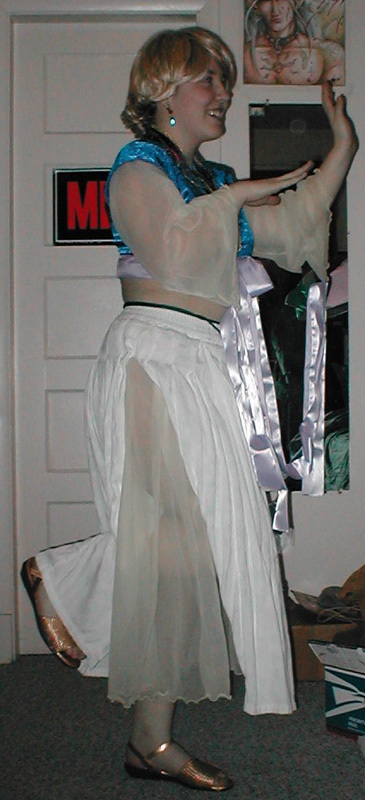
And here she is doing the "Watase-dance";

------------------
(February 26) Finally! The promised shots of the Shinzaho and earrings. I also wrote a bit of how-to info on the pic so you can duplicate my results if you want. Do a compare and contrast between the drawing and the result... cool beans, ne?
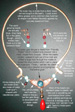
------------------
(February 28) I sewed on the purple ribbon (which is actually satin blanket edging) and hemmed up the edges of the ribbon. These two steps complete the shirt! And, actually, Kim's costume is now about 95% done. All that's left is to adjust the Shinzaho (it hangs too low -- I need to go back and make the outer ring slightly smaller) and figure out how best to keep everything pretty after being worn for three whole days.
But it's all downhill from here!
------------------
(March 1); I resized the Shinzaho and fitted it to the shape of her neck. We also performed a test to see if the brass-stuff would turn her skin green... and the verdict is YES, it will.
To solve that problem, we're going to be coating the brass part with a clear spray lacquer; not only will this put a layer between the metal and her skin, but it'll also ensure the metal doesn't tarnish, and will give it a bit more gloss than it has presently.
------------------
Yay! Kim's costume is done! We built in a velcro closure and made a "permanent bow" for the front of her shirt, so she doesn't have to worry about keeping it tied. Also, she wants an "accessory" of some sort to hold, but we're still trying to think of something appropriate.
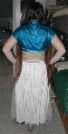
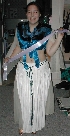
Final photos!
Front, back, and side:
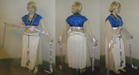
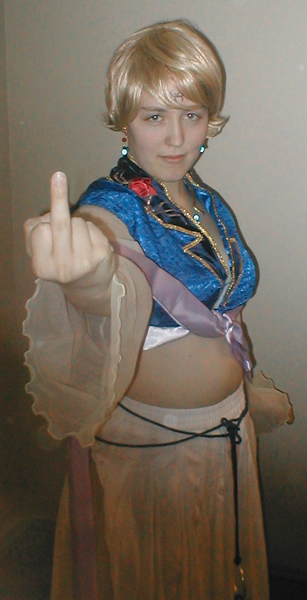
The priestess knows how to work her audience!

Yui says "hello" to Miaka!

------------------
GRAND TOTALS:
$94.50
41 hours
All time and money was spent over a period of two months.
------------------
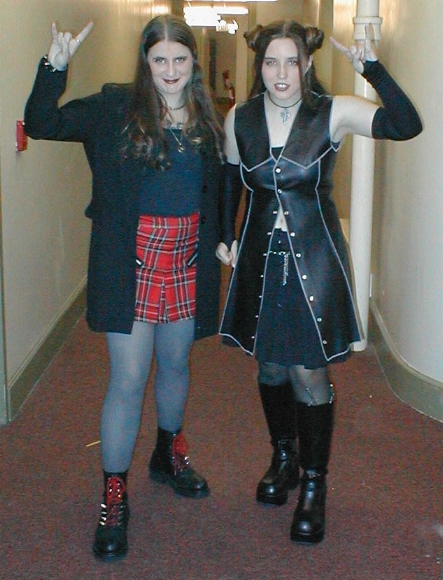
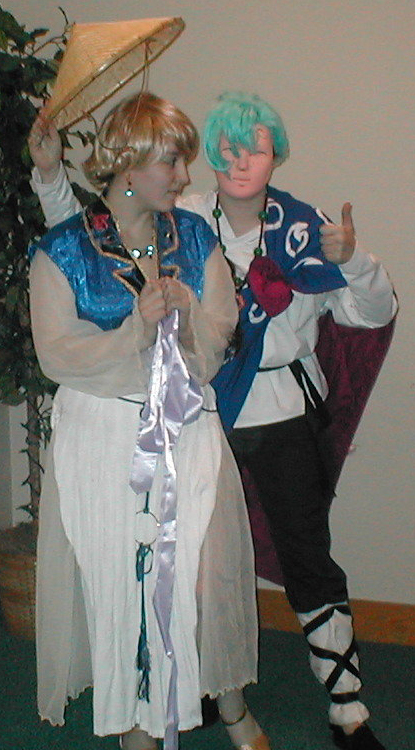
SPECIAL PHOTOS!
Whaaaaat, you think we would have done this without taking any photos together???
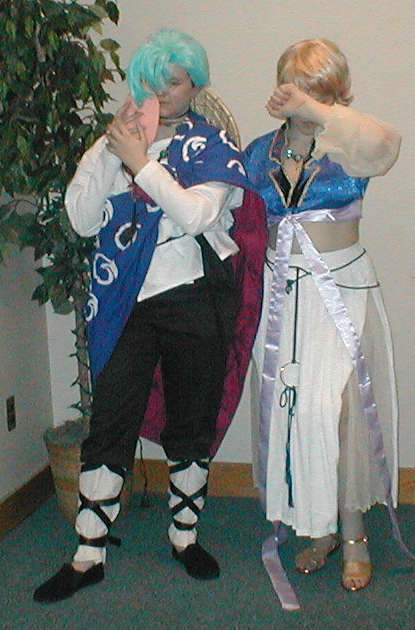
Here are Chichiri and Yui showing off the tragic scars of their past.

And the best for last! Chichiri is da man! He knows the way to a girl's heart is whisking them off magically to some groovy echanted forest. Muaha.

|